
How to Layer Drapery Panels for Better Windows
A layered window treatment can make a standard-sized window feel intentional, taller, and more generous. The key to learning how to layer drapery panels is not simply adding more fabric. Each layer needs a job: one may soften daylight, another may provide privacy, and a third may block glare or improve insulation. When those roles are clear, the finished window looks tailored rather than crowded.
For homeowners and designers, layering is also a practical way to get the beauty of drapery without giving up the precise performance of shades, blinds, or smart controls. A sheer can stay closed for daytime privacy while a room-darkening shade handles sleep, movie nights, or a west-facing afternoon.
Start With the Function of the Window
Before selecting fabrics or hardware, consider how the room is used. In a living room, the most versatile combination is often a solar shade or light-filtering roller shade behind decorative drapery panels. The shade controls glare and protects furnishings from harsh sun; the panels add softness, pattern, and visual scale.
Bedrooms usually call for a more protective pairing. Use a blackout roller shade, cellular shade, or lined Roman shade close to the glass, then frame it with stationary or operable drapery panels. This approach creates stronger light control than unlined drapery alone and can help reduce heat loss at the glass during colder months.
In dining rooms and formal spaces, sheers behind fuller drapery panels create a classic, finished effect. Sheers temper direct sunlight and preserve a degree of daytime privacy. The outer panels can remain mostly decorative unless the room also needs nighttime coverage.
There is no single right stack. A floor-to-ceiling condo window may need low-profile roller shades and stationary panels to avoid visual bulk, while a traditional family room may suit a double rod with operable sheers and lined drapery. The proportions of the window, nearby furniture, ceiling height, and daily use should guide the specification.
How to Layer Drapery Panels in the Right Order
Layered treatments work best when the most functional treatment sits closest to the window. In many homes, that means a shade, blind, shutter, or sheer is installed first, followed by drapery panels set farther into the room.
For a common shade-and-drapery arrangement, install the shade inside the window frame when depth allows. An inside mount keeps the treatment visually quiet and leaves room for panels outside the frame. If the window lacks sufficient depth, an outside-mounted shade can still work beautifully, but its headrail and projection must be accounted for before selecting the drapery rod.
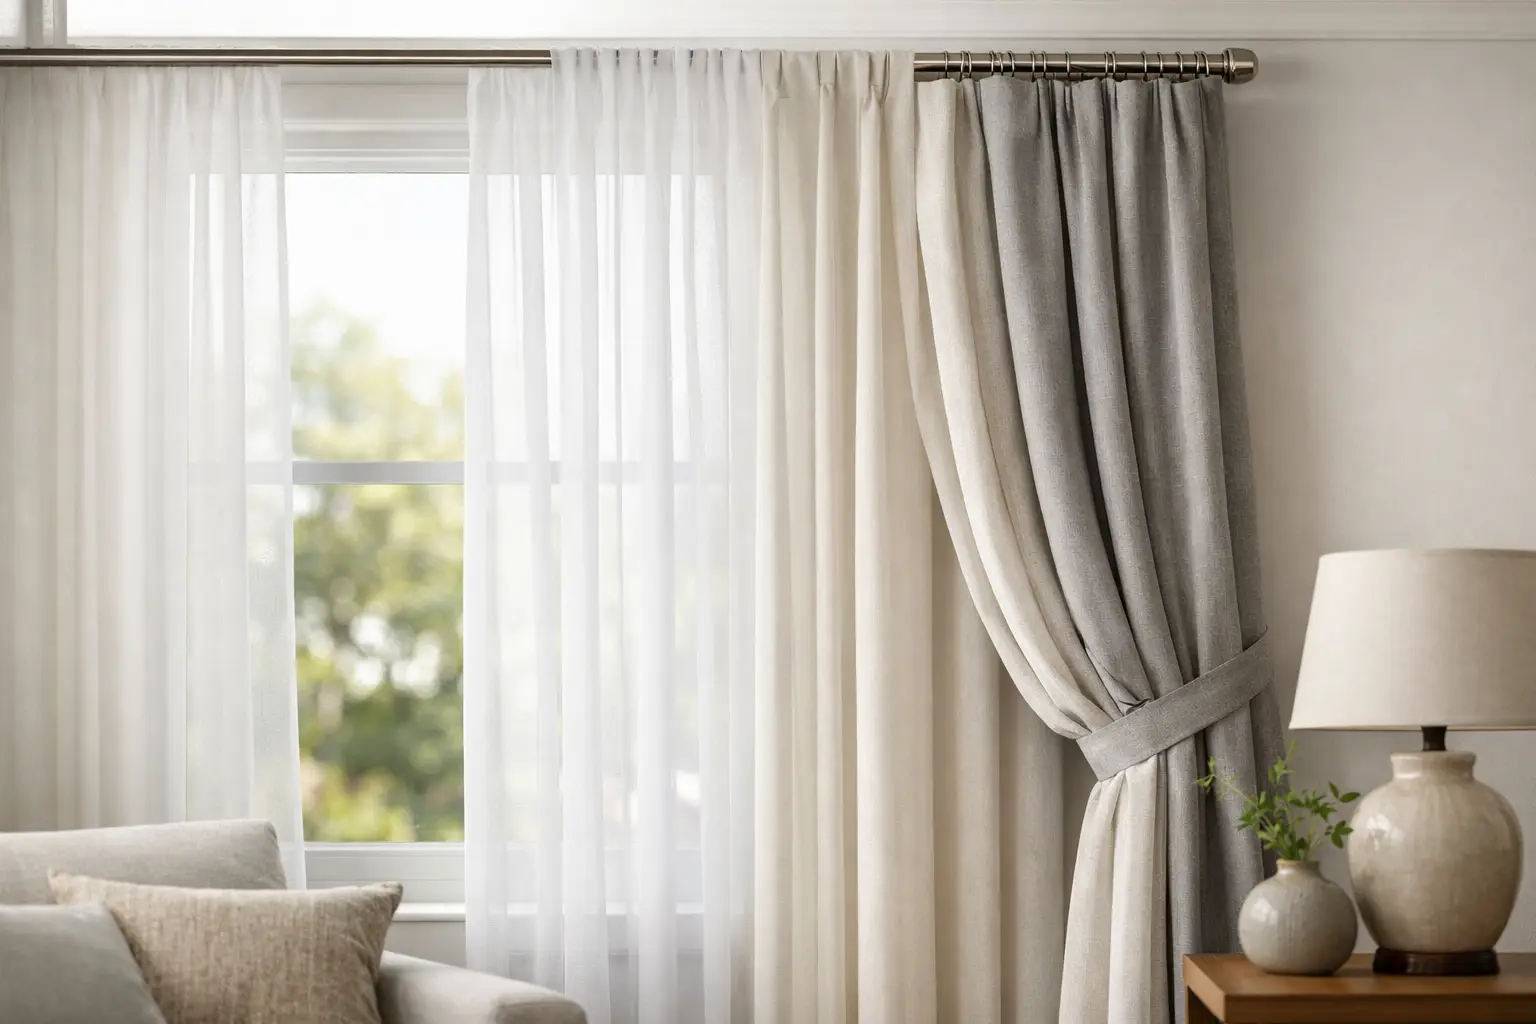
With two fabric layers, use double drapery hardware. The sheer typically hangs on the rod closest to the glass, while the heavier decorative or blackout drapery hangs on the front rod. This order lets each layer operate independently. It also creates the depth that makes layered windows feel custom.
Avoid pushing both layers onto one rod unless the panels are strictly stationary. One rod can be appropriate for paired side panels over a shade, but it does not provide the separation needed for sheers and drapery to hang and move properly.
Give Every Layer Enough Clearance
Hardware placement is where many otherwise beautiful treatments fall short. The front rod must project far enough from the wall to clear the back treatment, including the shade cassette, blind valance, shutters, or the fullness of the sheer. If the front panels rub against the shade or bunch against the wall, they will never hang cleanly.
As a general rule, plan for more projection as layers are added. A single decorative rod may need only modest clearance. A shade plus operable drapery, or a double-rod sheer-and-drapery installation, needs deeper brackets and carefully selected finials or end caps. Motorized shades require extra attention because the cassette size varies by fabric and system.
A showroom consultation is especially helpful for wide, tall, corner, bay, and patio-door windows. These conditions affect rod returns, stack-back space, motor placement, and whether panels can fully clear the glass when open.
Size Panels for a Full, Relaxed Look
Drapery panels should look generous when closed and intentional when open. The most common mistake is buying panels that only cover the exact width of the window. Fabric needs fullness to form attractive folds, particularly with lightweight linens, sheers, and ripplefold styles.
For operable panels, the combined fabric width is often at least twice the width being covered, although the ideal fullness depends on the header style and fabric weight. Pleated drapery already contains built-in fullness, while flat-panel or grommet styles may require more fabric width to avoid a skimpy appearance. Stationary panels can be narrower, but they still need enough width to create a convincing return and soft folds at each side.
Height matters just as much. Mount the rod high, often close to the ceiling or crown molding, and extend it beyond the window frame. This makes the wall appear taller and allows the panels to stack off the glass. Panels that stop at the top of the frame tend to make windows look smaller.
For length, a light kiss at the floor is polished and practical for most homes. A slight break can feel more relaxed, while pooling fabric is best reserved for low-traffic rooms where a more formal look is desired. In homes with pets, children, or frequent patio-door use, a clean floor-length hem is easier to maintain.
Pair Fabrics and Treatments With Purpose
Layering succeeds when the materials contrast gently rather than compete. If the shade has a textured woven look, choose drapery in a quieter solid or a subtle pattern. If the panels are richly colored or printed, a simple neutral roller shade or sheer keeps the composition balanced.
Lining changes performance significantly. Unlined panels are airy and work well as decorative framing over a shade. Privacy lining adds body and reduces visibility from outside. Blackout lining offers the strongest room-darkening performance, but it will make fabric feel heavier and may increase the required stack-back at the sides.
For rooms with intense sun, consider a solar screen shade behind the panels. It maintains outward visibility while reducing glare and UV exposure, which is useful in offices, great rooms, and spaces with artwork or hardwood floors. For bedrooms, cellular shades can add insulation, while a blackout liner or blackout shade handles unwanted morning light.
Color should connect the layers without forcing a perfect match. A warm white sheer can sit comfortably behind oatmeal, taupe, charcoal, or muted blue panels. A shade can echo the wall color and let the drapery become the focal point. In a small room, closely related tones usually feel calmer than a high-contrast treatment that cuts across the wall.
Choose a Header Style That Matches the Room
The heading style affects how panels hang, how easily they operate, and how formal the room feels. Ripplefold drapery creates consistent, soft waves and is an excellent choice for contemporary interiors, large expanses of glass, and motorized systems. Pinch pleats offer a more traditional, structured appearance and work well with decorative rods.
Grommet panels have a casual look but may not be the best fit for a refined, fully custom installation. They create a visible wave and are easy to slide by hand, yet the metal rings can limit the degree of light blocking at the top and may not coordinate with every layered treatment. Rod-pocket panels are similarly casual and tend to be less convenient where drapery will be opened and closed frequently.
For a clean, high-performance solution, consider a traverse track or motorized drapery system. This is particularly valuable on wide windows, tall windows, and hard-to-reach glass. A motorized shade behind motorized panels can be scheduled around sunrise, privacy needs, and changing light, but it does require thoughtful planning for power, controls, and fabric stack-back.
Details That Keep Layered Windows From Looking Busy
A layered treatment should read as one composition, not several unrelated products installed in the same opening. Keep hardware finishes consistent where visible. If a black metal rod is part of the design, choose a shade cassette or valance that recedes rather than competing with it. If the drapery hardware is concealed behind a fascia or in a ceiling pocket, the fabric can take center stage.
Also consider what happens when every layer is open. Panels need a place to stack without blocking too much glass, especially beside sliding doors and narrow windows. A wide rod, split-draw panels, or one-way draw may solve the problem depending on furniture placement and traffic flow.
Window Fashions Depot can help coordinate panel fabric, shade opacity, hardware projection, and motorization in one specification. That level of planning is useful because the most attractive layered treatments are measured as a system, not assembled as separate purchases.
The best layered windows feel effortless after installation: daylight is softened when you want it, privacy is available when you need it, and the room gains the finished scale that fabric brings. Begin with the performance your space requires, then let the panels provide the final tailored touch.